
On this page
After opening the client, start with Profiles
The Clash Verge Rev home-screen toggle does not create a configuration. Open Profiles, which determines which YAML Mihomo reads. Remote subscriptions, local configurations, and overrides can coexist, but for the first use keep one clearly identified remote Profile so subsequent nodes and rules have an explicit source.
Paste the Clash- or Mihomo-compatible HTTPS link supplied by the provider and give it a locally recognizable source name. The subscription contains a token; never put the complete address in a screenshot, Profile name, or public ticket.
Add a remote Profile
Copy the complete subscription URL
Do not omit parameters after the question mark or include extra spaces.
Add the remote configuration in Profiles
Use the ordinary link-import entry and remain on the page after saving.
Update manually
Wait for a status message and a new update time.
Select it as current
The selection marker should be on the item you just updated.
A subscription name appearing is not success; the update time must change
After saving a remote address, the client may have created only a local record. Click update to download and parse the configuration and change the time. download failed, client error(Connect), 401, 403, and parse error correspond to download, connection, authentication, or parsing failures.
401 / 403
Sign in to the subscription service and inspect the account and token; the client already reached the server.
client error(Connect) / timeout
Compare another network or an alternative import method documented by the client.
parse / yaml error
The response arrived, but its format or fields are incompatible with the current core.
200, but there are no nodes
Confirm that the response is not sign-in HTML and that the configuration contains proxies and policy groups.
A working old configuration does not mean the current update succeeded. Clash Verge Rev continues using the prior local copy, so troubleshoot updates by time and error. Do not first delete the sole working configuration.
In Proxies, move from the policy group to one specific node
After updating, open Proxies. The upper level normally contains policy groups such as “Node Selection,” “Auto Select,” and “Fallback”; expand them to see individual nodes. Group names come from the subscription and differ among services.
For the first test, click a specific node in the primary select group. Use url-test or fallback only after networking works, because an automatic group may switch outbound routes while you observe. Latency beside a node proves only that the test URL responded; verify a real page separately.
The proxy screen should clearly show
- The primary policy group is not empty
- The manual selection group points to a specific node
- Required service groups ultimately reference that node or a parent group
- The current mode is Rule, not accidentally left on Direct
After System Proxy is enabled, a local proxy address should appear in the system
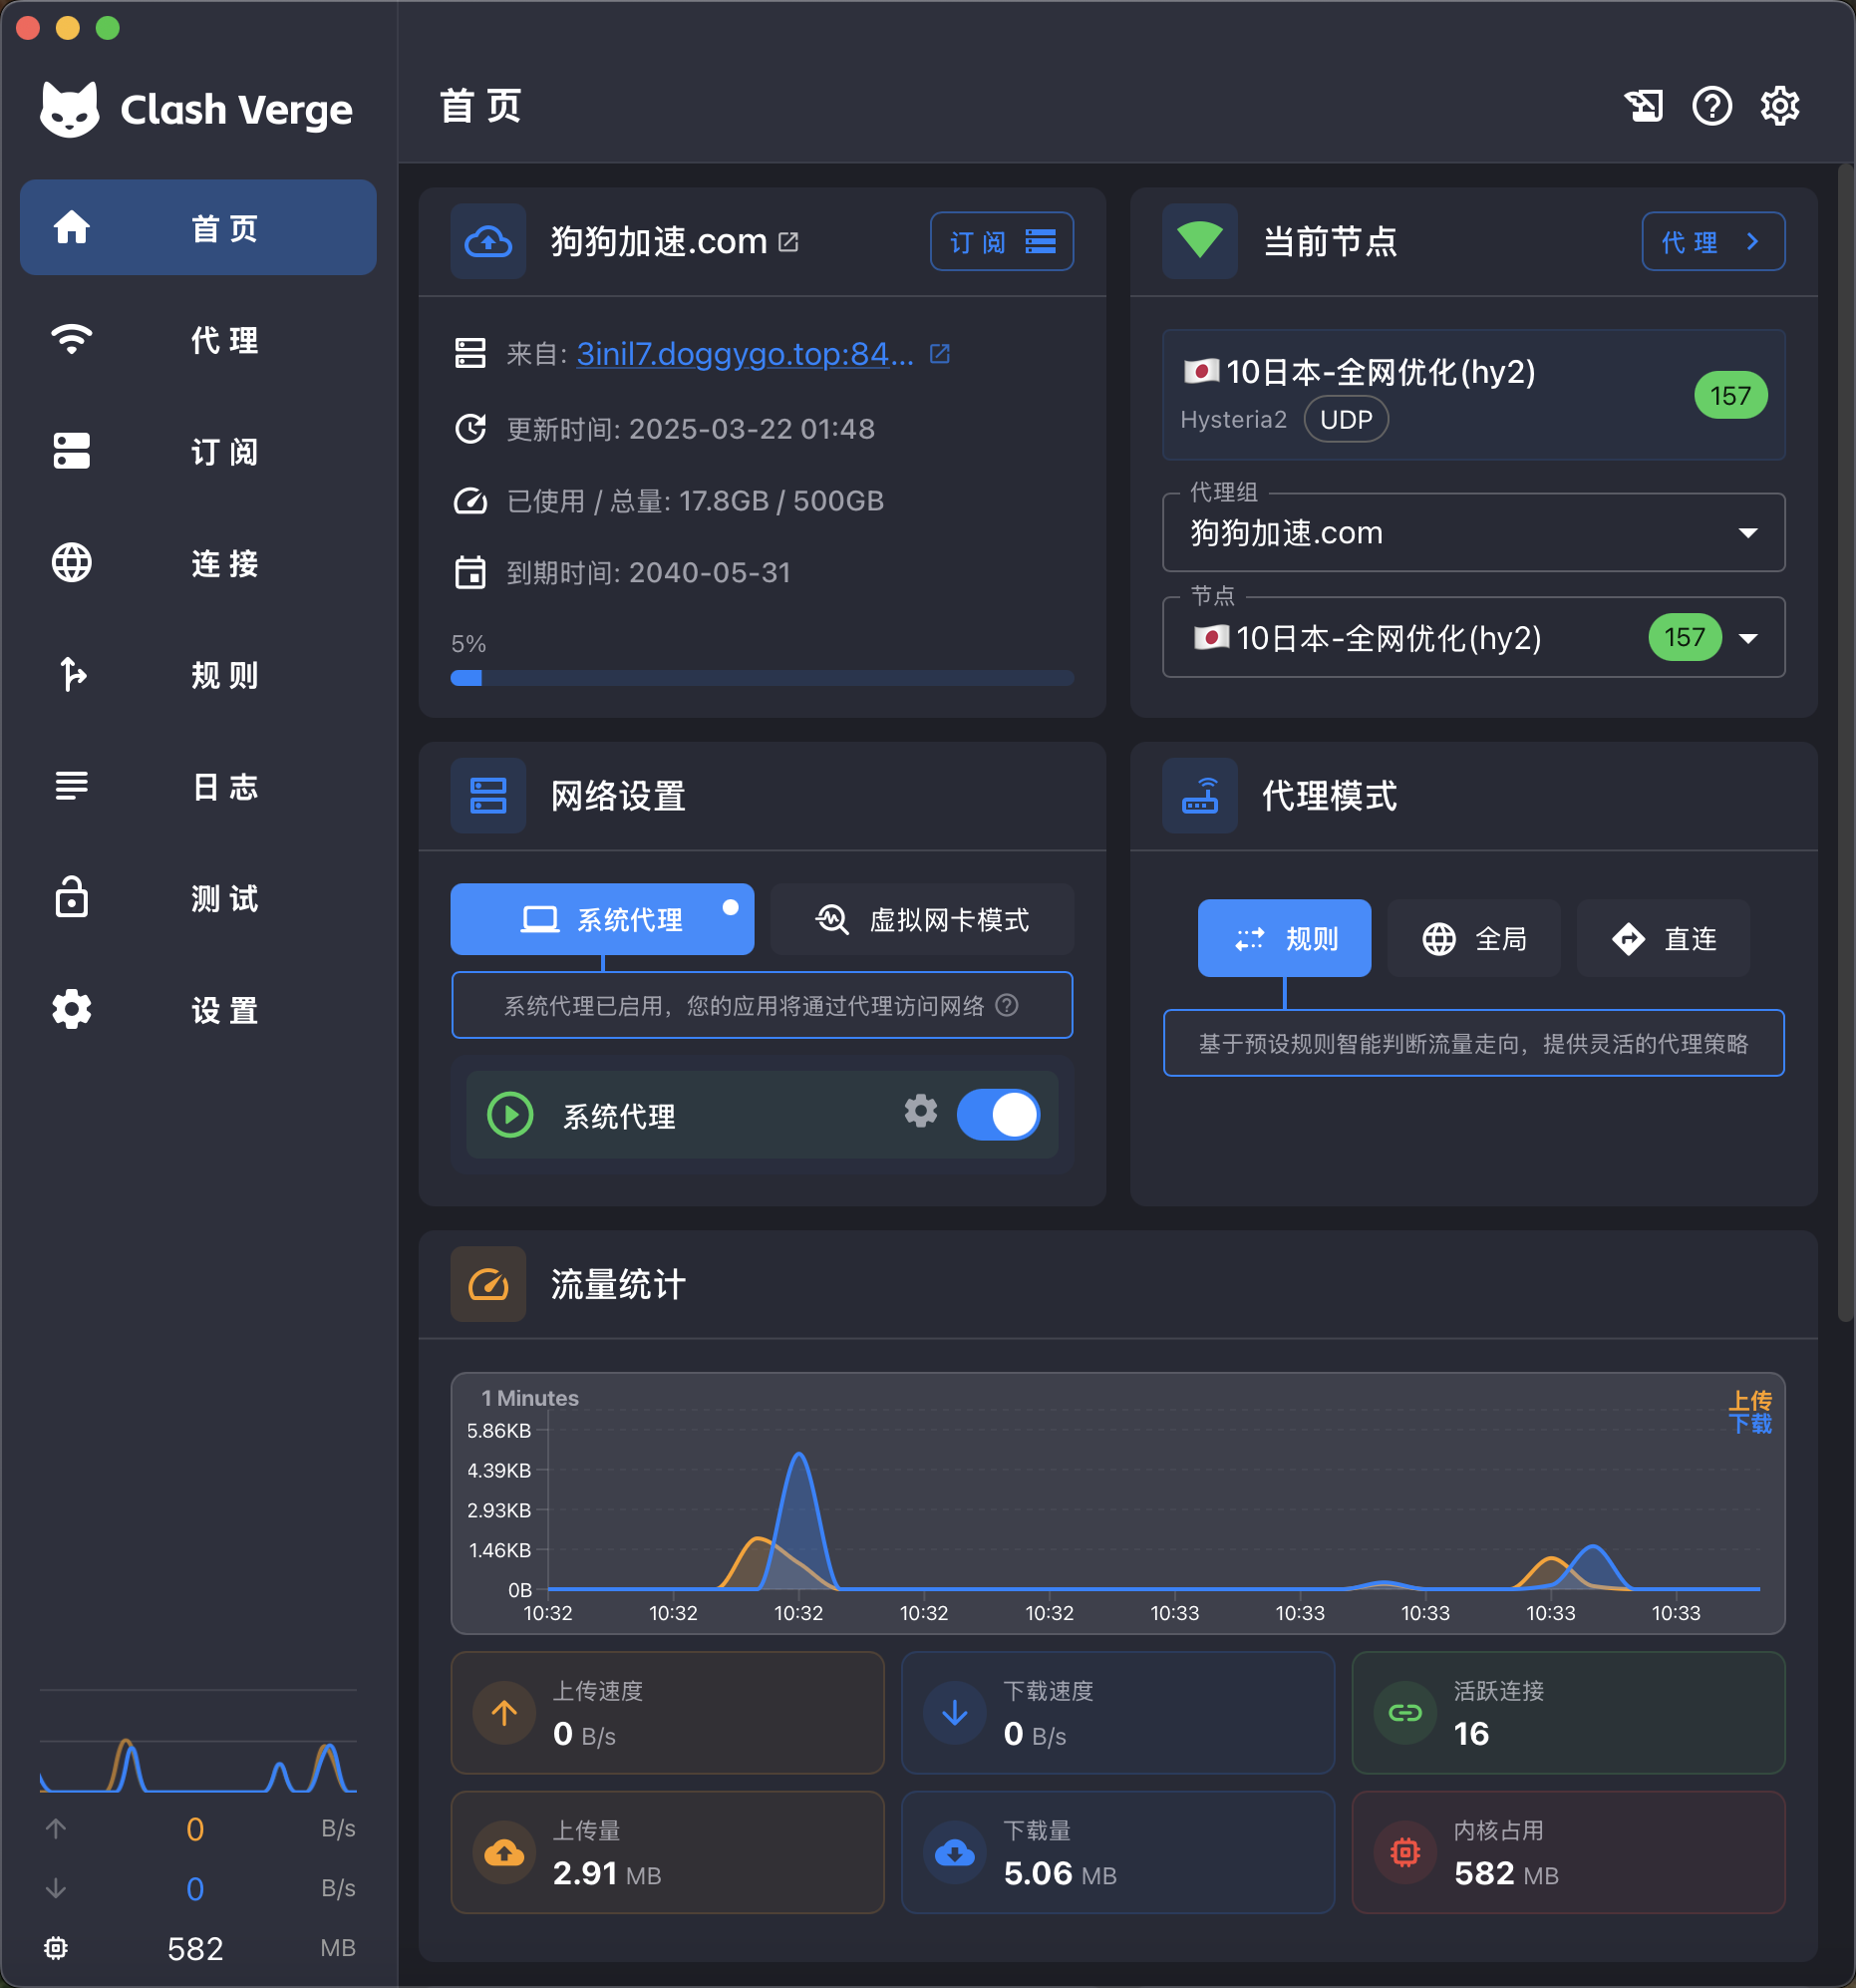
Return to the home screen or settings and enable System Proxy. Clash Verge Rev writes the local proxy address into Windows or macOS system settings; browsers and programs that honor the system proxy then send requests to Mihomo.
If an old Clash client, VPN, or proxy extension remains on the computer, quit it first. When two clients can change the system proxy, the interface may show enabled while another program writes an old port back into the system. Use the current Clash Verge Rev mixed-port or HTTP port.
When the browser opens a page, find that request in Connections
Verify that the system proxy actually captures traffic
Open a familiar website
Use the node you just pinned and Rule mode.
Open Connections
Find the record by time or domain.
Inspect Rule
Confirm whether the connection matches DIRECT, REJECT, or a policy group.
Inspect Chains / outbound route
Confirm that the final node matches the selection in Proxies.
If the page opens and the record matches, the system proxy works. If the page fails and Connections is empty, inspect the system-proxy setting. If the record shows DIRECT, read the rule. If it uses the fixed node and then shows timeout, compare another node. These three results require three different fixes.
If enabling the system proxy breaks networking, inspect where this request stops
Profiles has no new update time
Return to the subscription link, account status, and download error; the system proxy has no usable configuration yet.
Proxies has no policy group or node
Confirm that the Profile is selected and the response uses the Clash / Mihomo format.
The browser fails, and Connections is empty
Confirm that System Proxy points to the current mixed-port, and quit the old proxy client.
The connection shows DIRECT
Rule mode selected direct access according to subscription rules; determine whether that is expected for the target site.
The connection uses the fixed node and then shows timeout
Switch to another known-good node while keeping the same page for comparison.
After fixing it, repeat the same page request. If the page opens and Connections shows the expected rule and selected node, subscription import, node selection, and the system proxy form a complete workflow. Keep this simple configuration for a while; there is no need to add TUN or overrides immediately.