

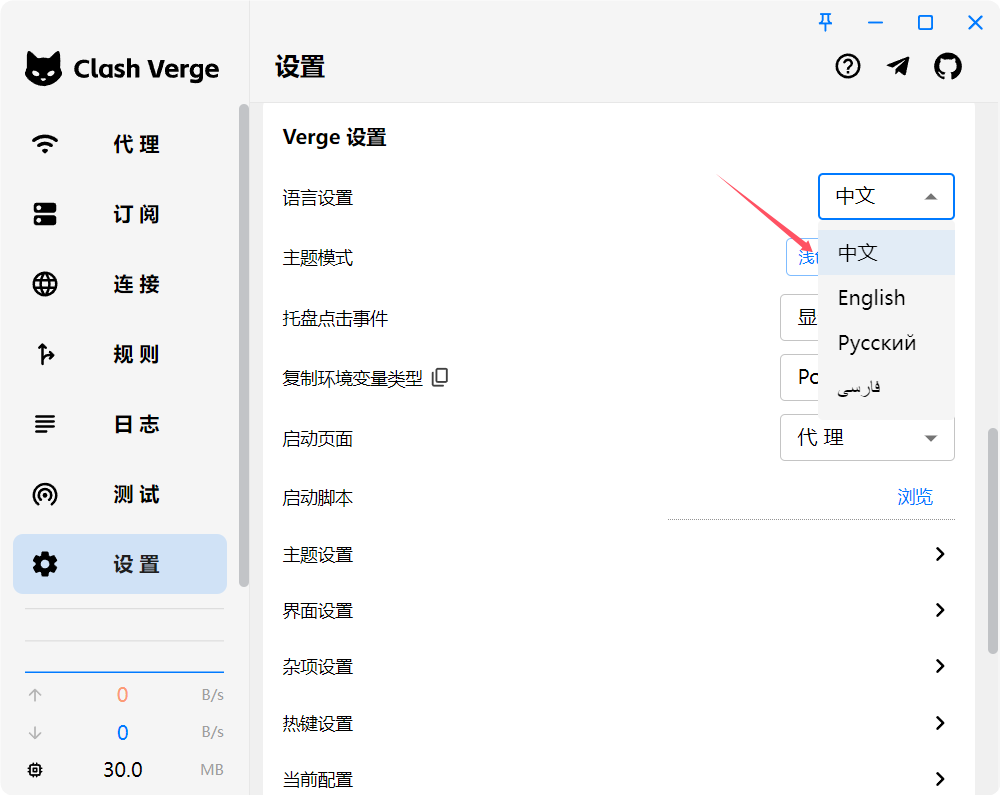
Step 01Choose the interface language
After installation, open Settings and choose your preferred interface language.
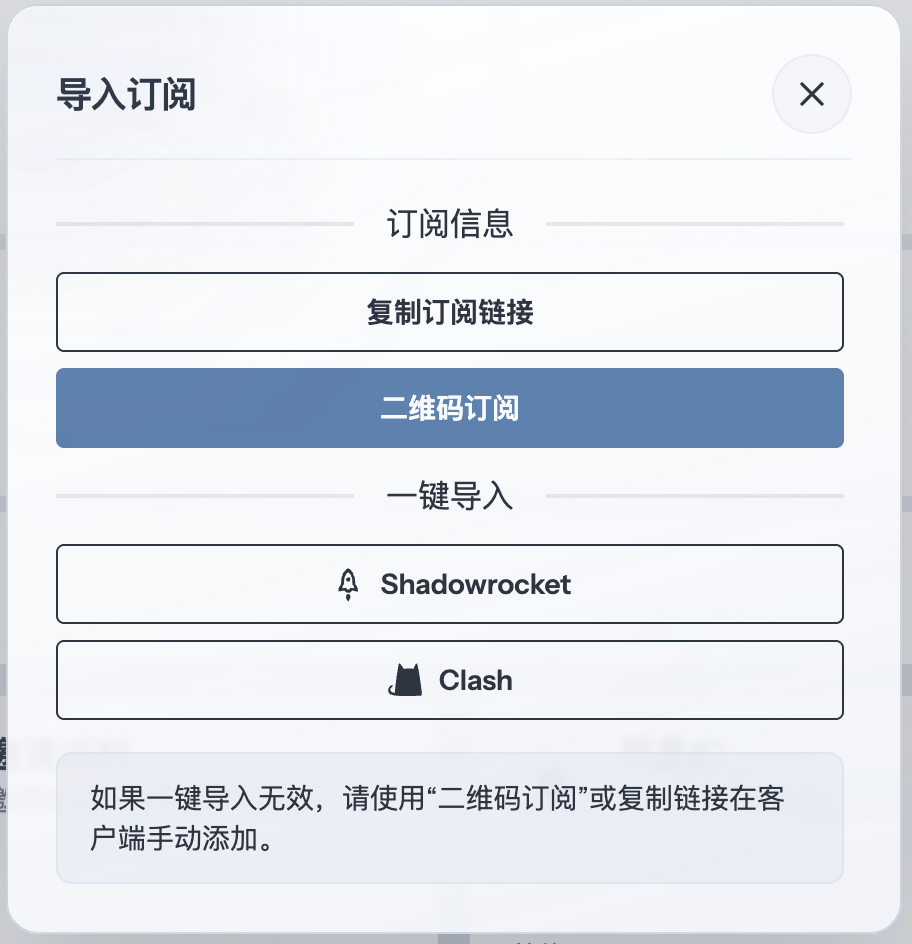
Step 02Get a subscription
Copy a Clash/Mihomo subscription URL from your provider, then return to Clash Verge Rev to import it. This guide uses 畅连 as an example.
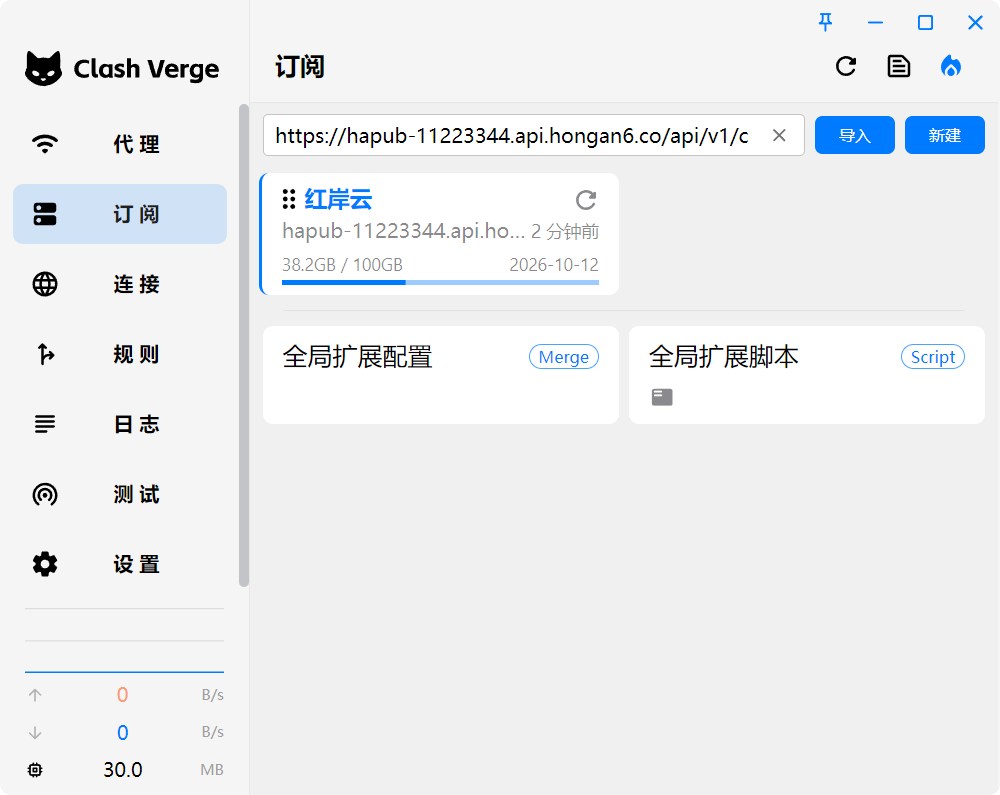
Step 03Import the subscription
On the Profiles page, paste the copied subscription URL, then click Import. A successful import appears as shown below.
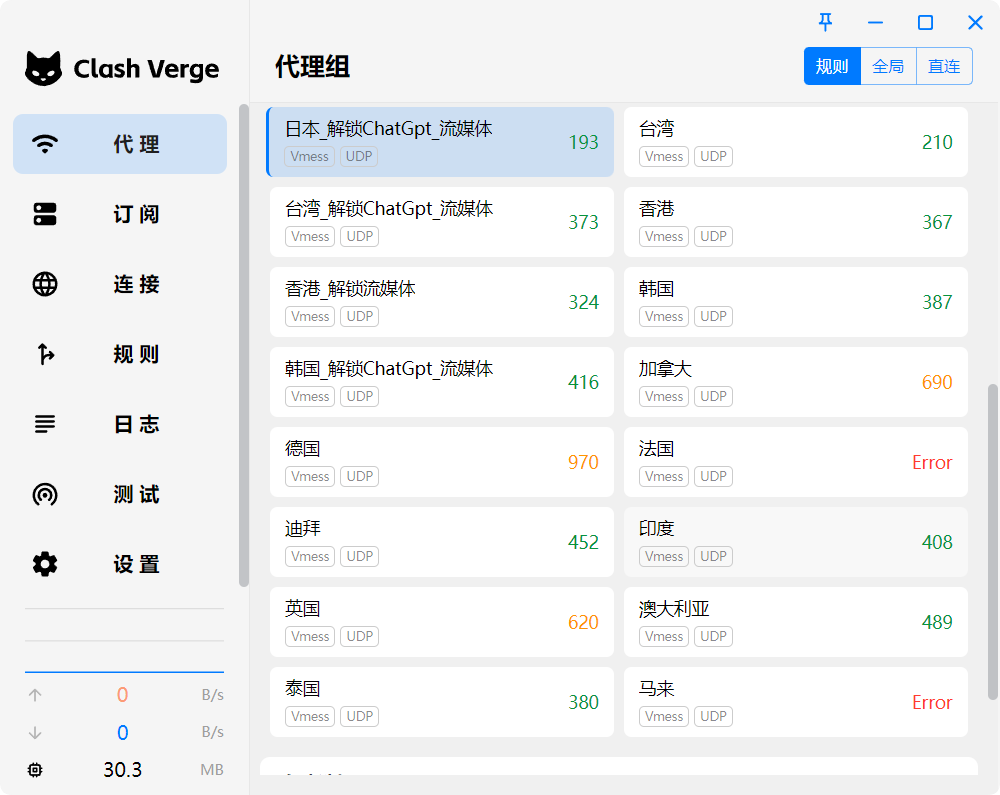
Step 04Select a node
Select an available proxy node from the Proxies page. The groups and nodes shown here depend on the configuration supplied by your provider.
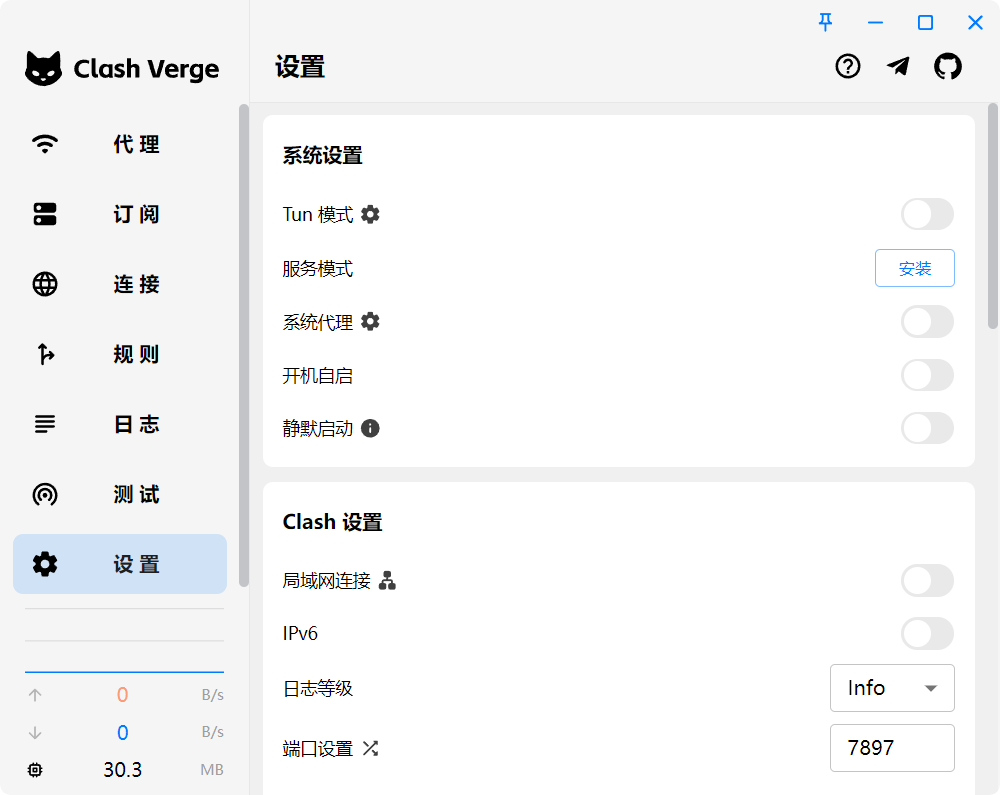
Step 05Enable the proxy
Open Settings, find System Proxy, and turn it on. Apps that follow the operating system's proxy settings will now send traffic through Clash Verge Rev.
Step 06Understand proxy modes
You can choose a routing mode from the Proxies page:
- Global: sends every request through the selected proxy.
- Rule: follows the configuration rules and proxies only matching traffic. This is the recommended everyday mode.
- Direct: sends every request directly to its destination without using the proxy.