

Step 01Choose an import method
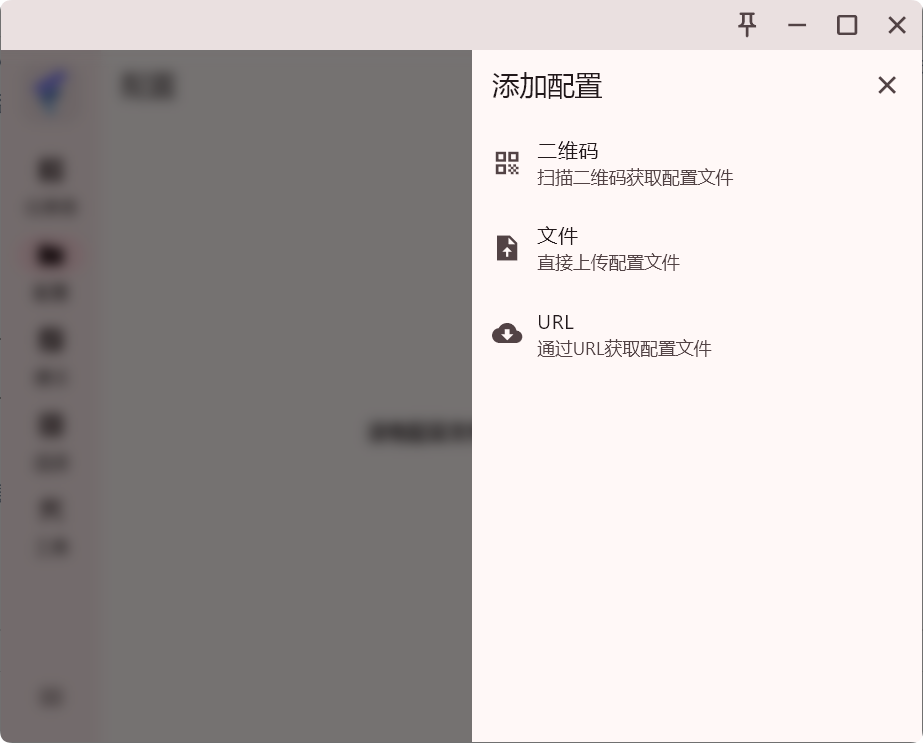
FlClash supports three import methods: scan a QR code, upload a local configuration file, or fetch a profile from a URL.
Step 02Get a subscription
Copy a subscription URL supported by FlClash from your provider, then return to the Profiles page to import it. This guide uses 畅连 as an example.
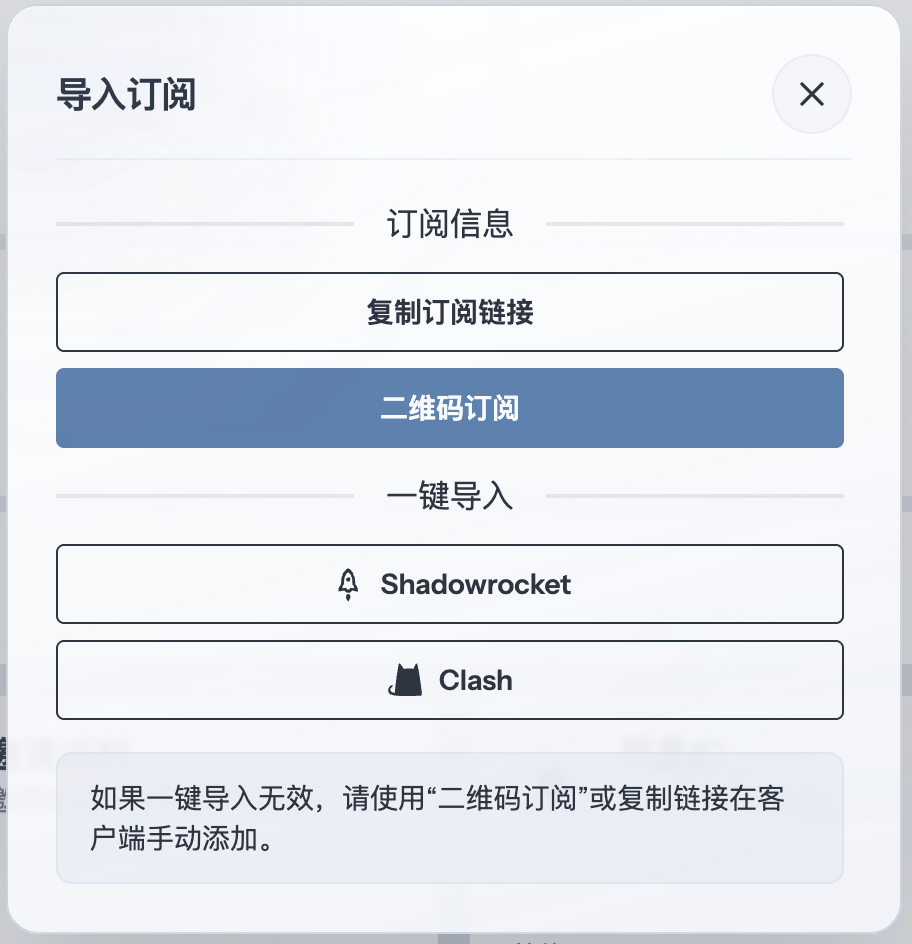
Step 03Add a profile
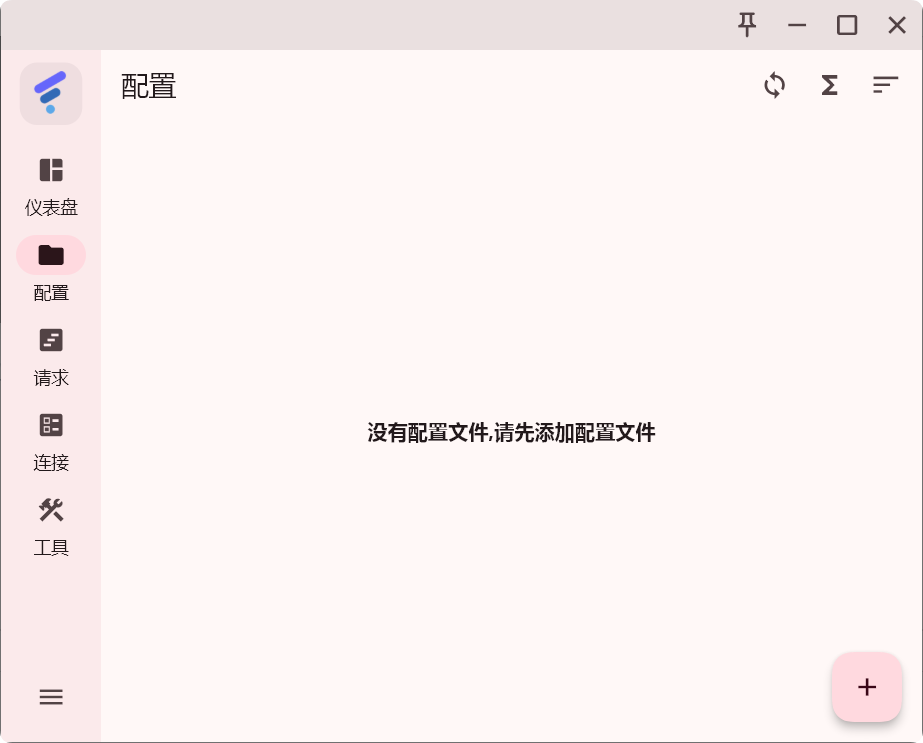
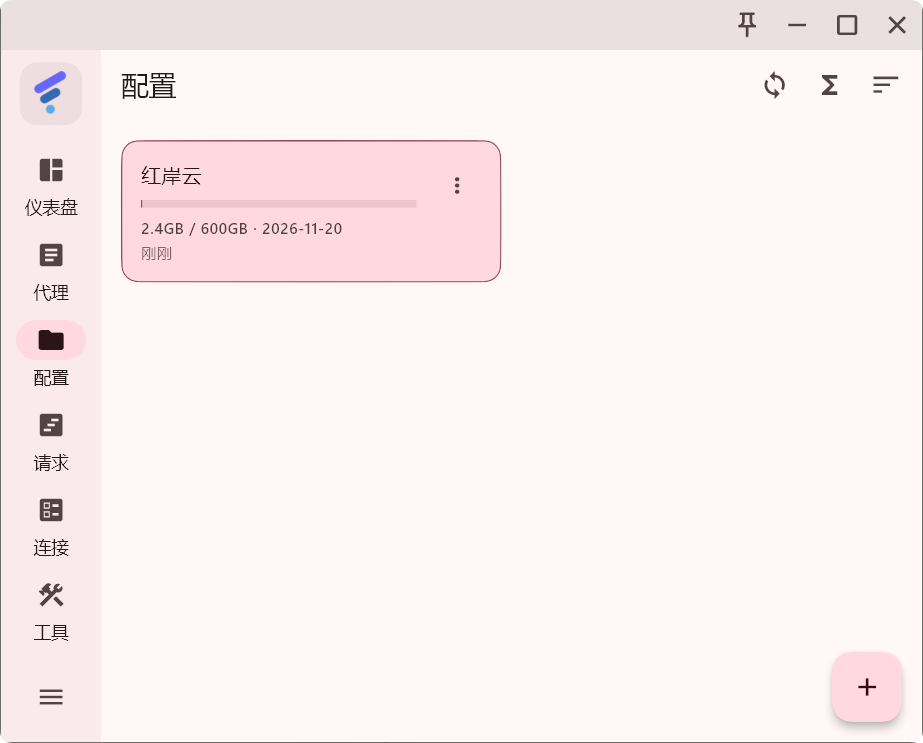
Open Profiles from the left menu and click the + button in the lower-right corner.
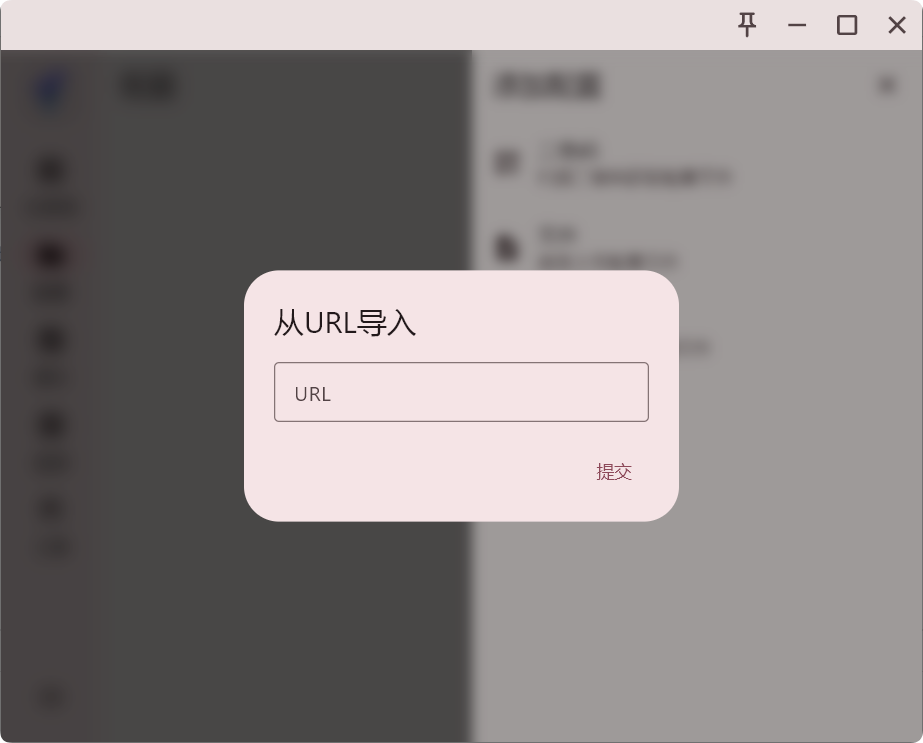
Choose Get profile from URL, paste the subscription URL into the dialog, and click Submit.
If Windows Firewall asks for permission, choose Allow access after verifying the application.
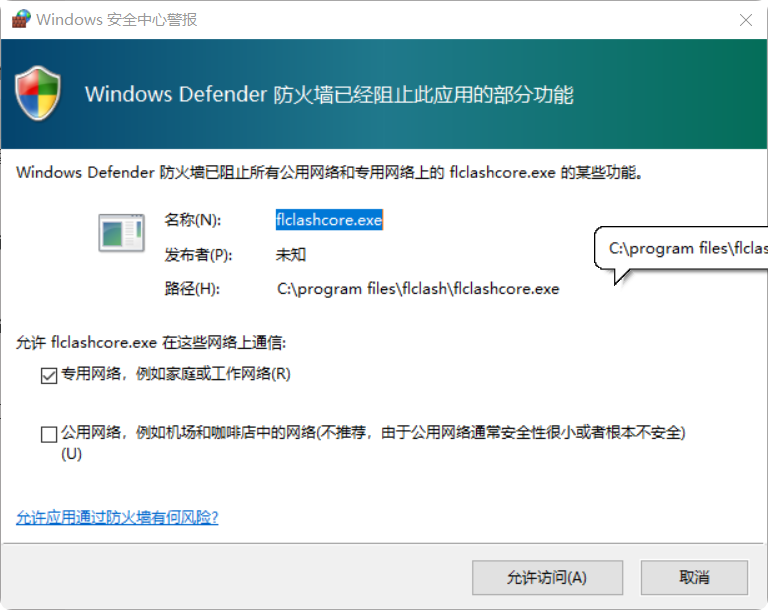
After a successful import, a Proxies item appears in the left menu.
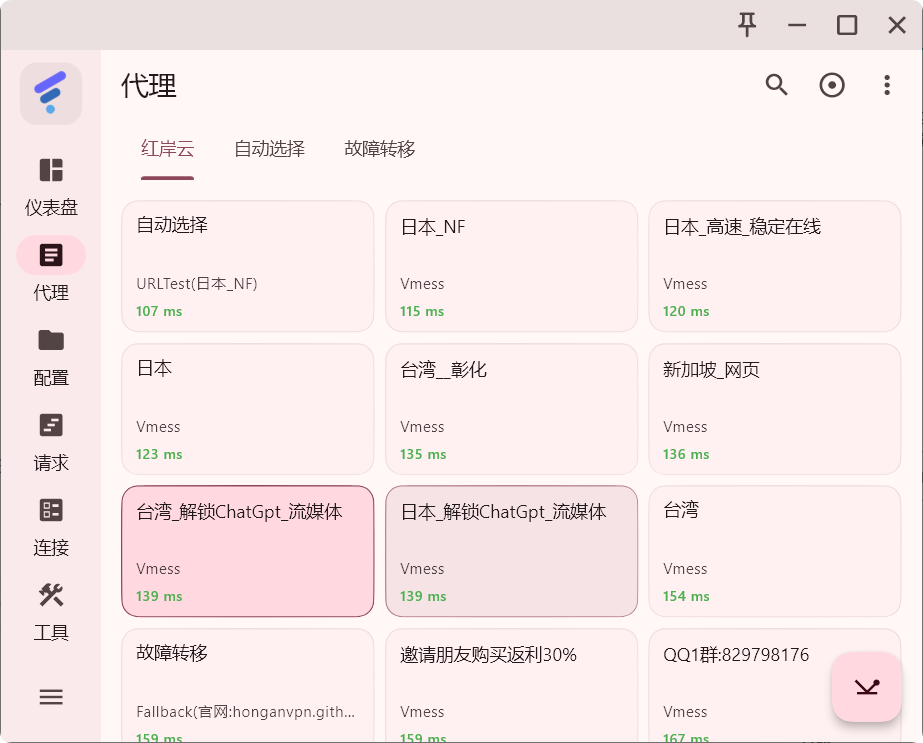
Step 04Select a node
Open Proxies to view the node list, then click a node to select it.
Step 05Start the proxy
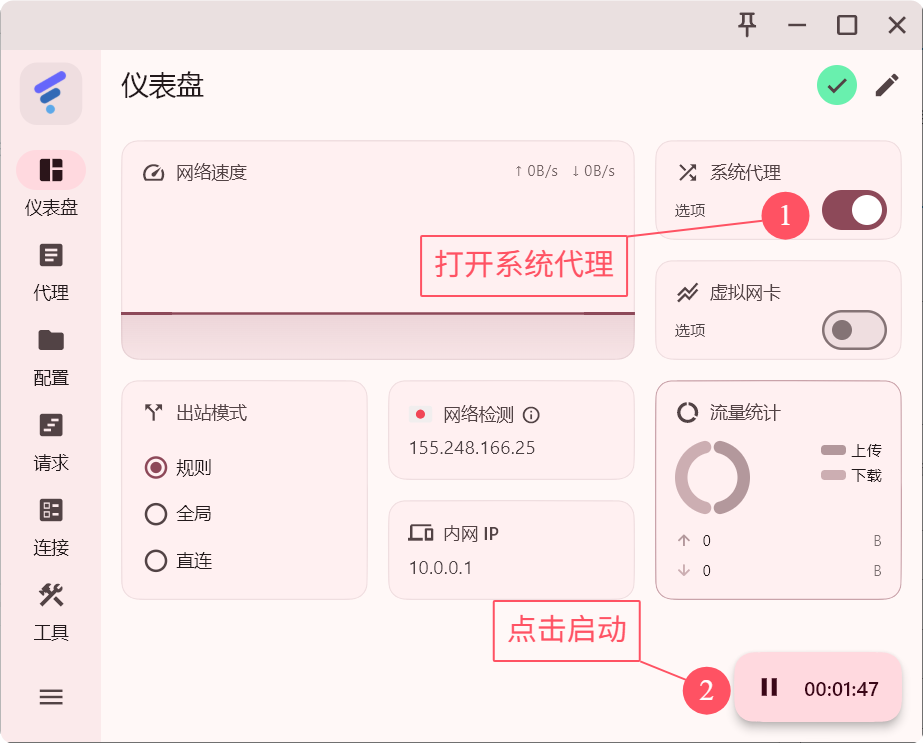
Return to the Dashboard, enable System Proxy on desktop, and click the Start button in the lower-right corner. On Android, approve the VPN connection request when prompted.
Step 06Understand outbound modes
FlClash provides three outbound modes for different network situations:
- Rule: uses profile rules to decide which traffic is proxied and which connects directly. Prefer this for everyday use.
- Global: sends every request through the proxy. Use it temporarily to test node connectivity or troubleshoot routing rules.
- Direct: bypasses the proxy for all traffic. Use it to pause the proxy, reach LAN devices, or compare network behavior.